Wednesday, November 19, 2014

Exploring Oak Aging Alternatives Part 1: Background

I really enjoy oak aged and oak fermented beers. It might have something to do with my first real craft beer being a Firestone DBA. For the styles I enjoy the most (Farmhouse and sour styles), I find as an almost absolute rule that the beer is always better with some oak added. Oak adds a lot more than just flavor to beers and often adds what Brett and bacteria take away. With a caveat that you should use the proper amount and match the flavors correctly. I think of oak flavors as Belgian brewers often refer to spice additions, "The use of spices should enhance flavor notes already present, but if you can tell which spice has been used then you have added too much."

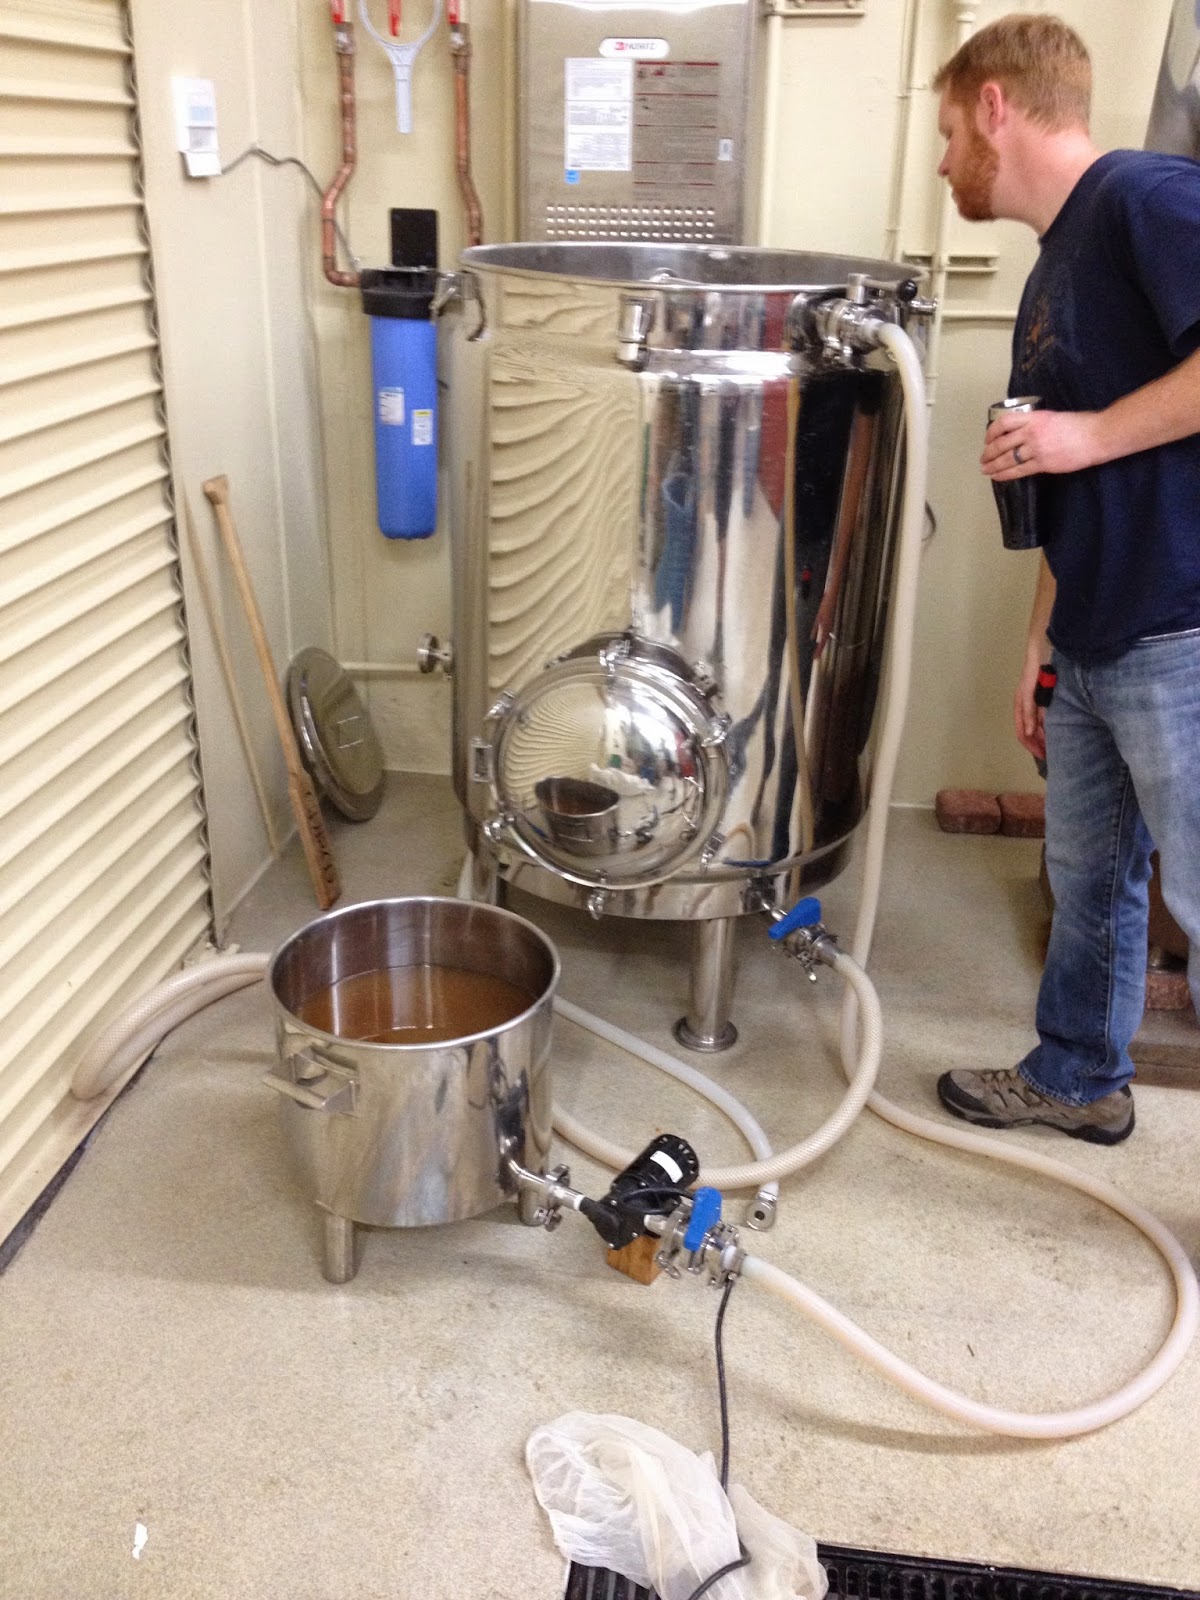
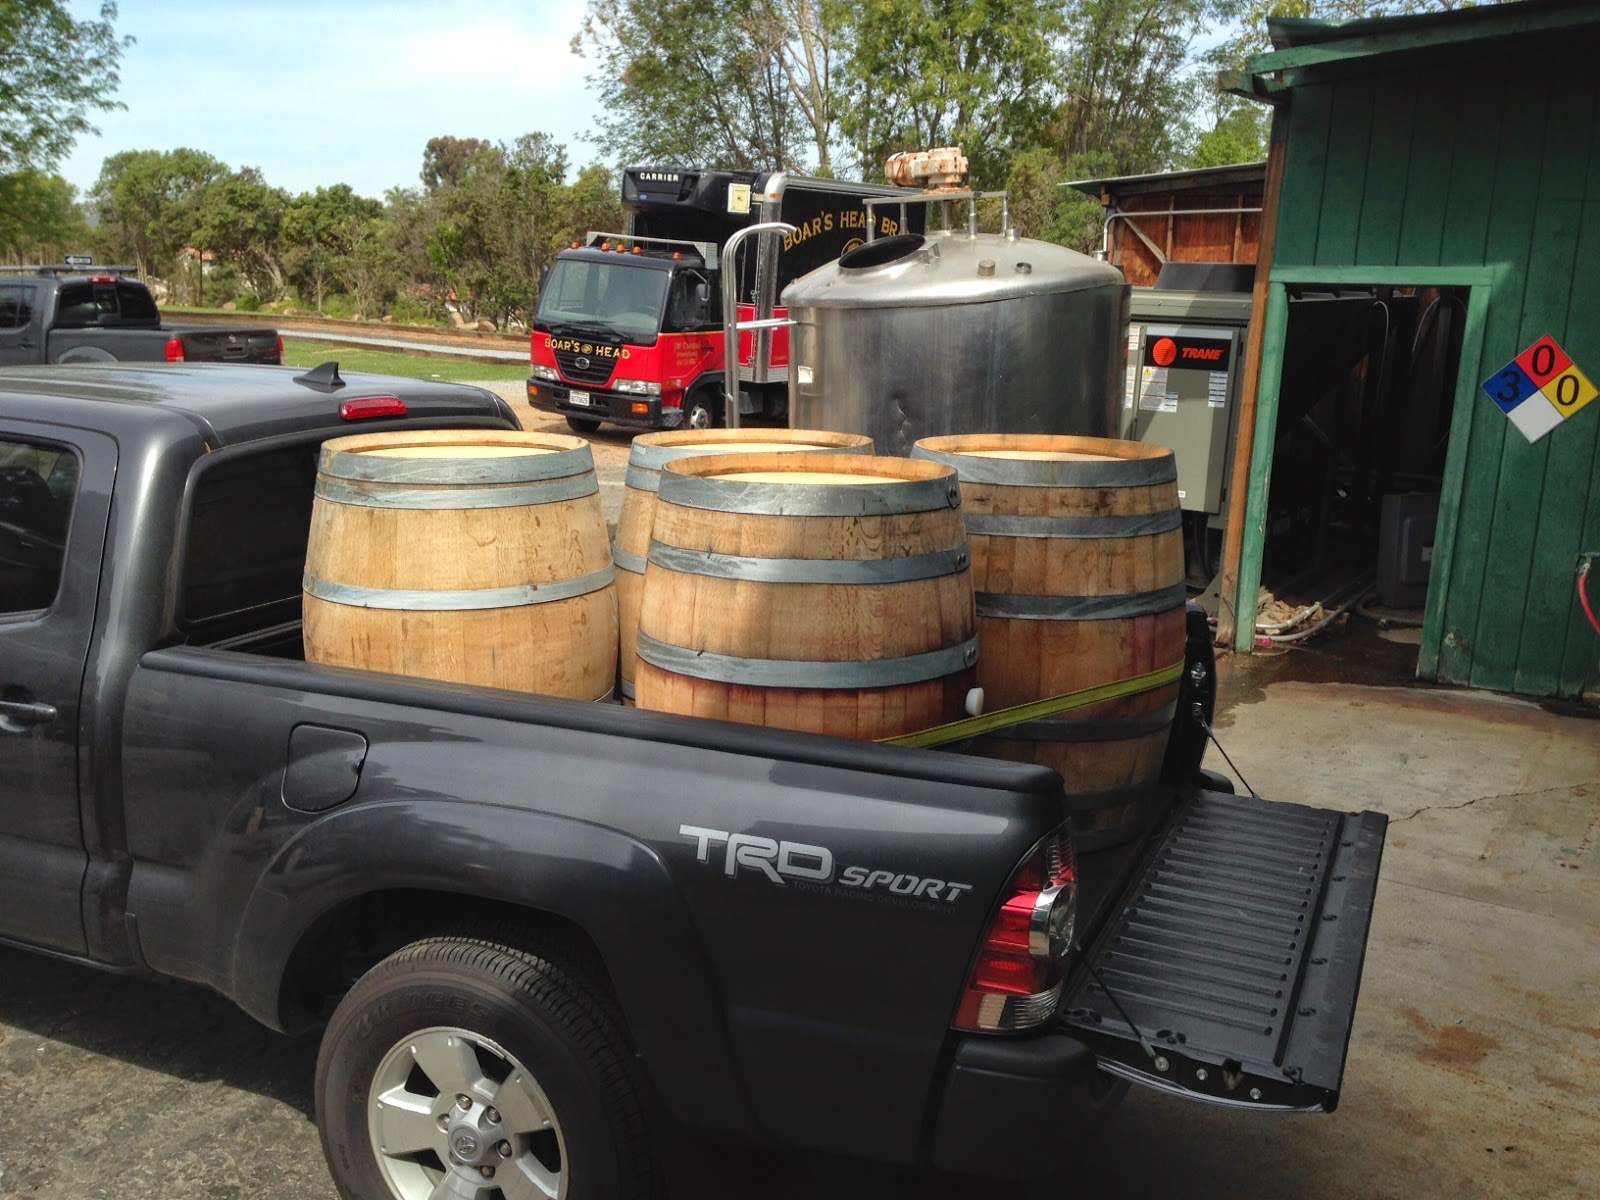
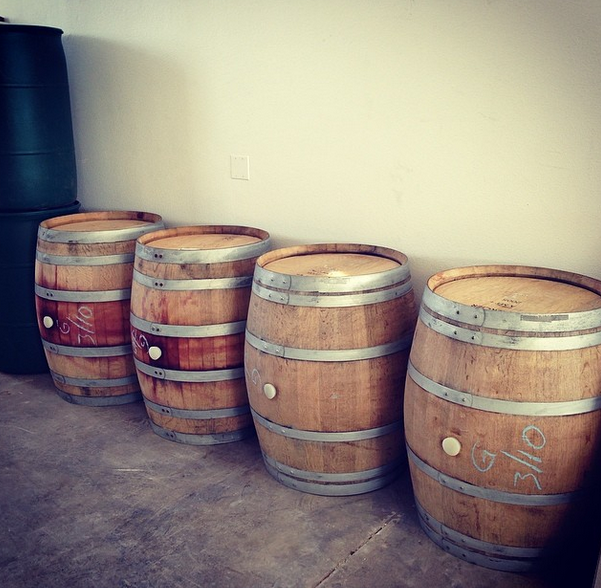
For our barrel program at Council Brewing, I wanted to decide how I was going to integrate oak into our batches. We are using almost exclusively neutral barrels, at least oak neutral, most of them still have some wine or spirit flavor remaining. This brought me to the point where I need to look at oak alternatives. I thought it would be a good idea to compile some of the work I've done lately for Council Brewing to really firm up some of my ideas on oak aging. As far as flavor, I've always had some good general ideas on what type of oak would work well in beers (i.e. med + or heavy toast American oak in clean, dark malt-forward beers and med or med + French oak in lighter, clean or funky yeast-forward beers), but I'll be writing in much more detail about specific flavors and profiles I think they match. For cost, ease of use and extraction rate, I've always used oak cubes, but have recently been exploring other options. It seemed the best idea to split this topic into 4 segments and explore each aspect in its own depth.


Exploring Oak Aging Alternatives Part 1: Background

Exploring Oak Aging Alternatives Part 2: Cost

Exploring Oak Aging Alternatives Part 3: Flavors

Exploring Oak Aging Alternatives Part 4: Extraction and Use


There is surprisingly little (useful) information available on the web (way too much generic wine speak). I have gathered together a few resources that are well put together and should give you a good basic understanding.

All About Oak and Red Wine - Written by Shea Comfort
Thee best overview on the basic components in oak and how they vary due to species (French, Hungarian and American), toast level (light, med, med +, heavy) and form (chips, cubes, segments, staves).

Firestone Walker Barrelworks Educational Posters
Covers most of  the same things as the Shea Comfort article, but is more graphic based and easier to understand based on your learning style. Even worthy of printing and hanging in your brew space.
Stage 1: The Oak
Stage 2: The Barrel
Stage 3: The Taste

It's good to be back writing again and the next part in this series should be posted in the coming weeks.

Friday, June 27, 2014

Barrel Filling Brew Day at Council Brewing

Curtis in front of the brew system and filling the
red wine barrels with Flanders Red
With the announcement of the Council Brewing Barrel Program, this post will be the start of transitioning from my homebrew adventures into the semi-pro. I will do my best to keep writing about upcoming batches, which we already have about 8 in the pipeline. I'll be sharing recipes and our techniques (oak aging, new yeast combos (like wine + Brett), blending and diversifying batches.


A couple months ago, I took a "day off" work to do a double brew day and fill 4 wine barrels. The goal was to fill 2 Gewurztraminer barrels with our standard Saison base and 2 red wine blends with a Flanders Red. We expecting the Saison to be ready in the heat of the summer and the Flanders will probably be our 1st Anniversary beer.


The morning started off with filling the mash-tun. Since we have a relatively small brew system it made sense to use an on demand hot water heater instead of a dedicated hot liquor tank. The on demand hot water heater has a few settings that we can control to hit the correct strike water temps. As with any new system it took a little time to figure out the amount of heat lost to the mash tun, but once up to temperature the thermal mass of the tun/grain keeps the temperature very consistent (one advantage of a larger system). As we mashed in we also added lactic acid to drop the pH down into the 5.2 range. (since this batch we have switched to phosphoric acid for better economy. I prefer to aim for the lower pH range for Saisons as I feel this gives the beer a more "crisp" and refreshing flavor. Along with a very dry finishing gravity the low pH helps to make this beer disappear off your palate quickly.)

Recirculating the Saison mash through the grant
Sparge arm in the 3BBL mash tun at Council Brewing
After hitting the pH (another note on adjusting with acid is that its good to add incrementally as once the buffering capacity is reached the pH will drop quickly) and a mash temp we let the beer rest. The next step is slightly different than most homebrew setups in that we use a grant. The grant helps to ensure you are not pulling on the grain bed with the pump, plus in our case it also whirlpools the wort to help with any particulate that comes through the mash. Once re-circulation is complete, we attach the sparge arm and then pump directly into the kettle.

Transferring wort from the mash tub into the direct fire boil kettle
The kettle's capacity is around 130 gals so its has plenty of room to boil for a full 3BBLS (~93). We usually knock-out with ~100 gals and for the barrel brew days we aim a bit higher. This 3 BBL kettle is also about the biggest practical size that can be direct fired without a custom burner system. Any larger and it would make sense to go to a steam fired kettle, but that involves more capital. The boiling process is just like a homebrew setup until we are done and pump into the whirlpool tank.


Whirlpool Vessel being filled at Council Brewing
We will whirlpool until all the wort is transferred and longer if hops are added for flavoring. The wort still remains fairly hot up near the 200 F range, so you are still extracting IBUs. Once the whirlpool is complete we will pump through a plate chiller (this gets the wort down to about 100 F) and then a copper coil in an ice bath which we can control the flow rate to get us to the appropriate pitching temperature. Coming out of the plate chiller we have an inline diffusion stone to aerate the wort during the transfer to the fermentor.


Curtis getting the ice bath and chiller ready
 for knock-out into the barrels
For these barrel batches and most of our future barrel batches, we will be doing the primary fermentation in the barrel. This is done to save fermentor space (especially since we are adding bacteria and Brett in primary) and barrel fermentation is also reported to help build structure (at least with wine). A 3BBL(~93 gal) system works almost perfectly for filling 2 wine barrels (57 gal). Since we can yield about 100 - 110 gals of wort and fill the barrels with about 50 gals and reserve 2 - 5 gal carboys to top up after primary fermentation calms down. This amount of headspace worked well to prevent any beer loss and we do also add some Ferm Cap to hedge our bet. We fit stoppers and blow-off tubes for the most violent fermentation and then switch to breathable bungs for the extended aging process. The beers will remain on the yeast cake for this entire lifetime, which will make beer that is more Brett forward as the dead Sacc yeast makes a good carbon source for the Brett. If we find that some beers/styles are too Brett forward then we may switch to doing primary in a conical before transferring to the barrels.

Me up on the ladder watching the fill level on each barrel
For tracking each barrel's progress we have added sleeves with tracking notes about the beer. We have installed "Vinnie nails" to all our barrels, which involves buying the following from McMaster Carr ( I looked locally and couldn't find anything):

1" 4d smooth common nail – 316 stainless steel McMaster Carr #97990A102
and/or
2” 6d smooth common nail - 316 stainless steel McMaster Carr #97990A104
Adding Saison yeast to the
Gewurztraminer barrels


We added our nails after the barrels were filled. Curtis used an old carpenter trick and used the SS nail with the head torn off as a drill bit (or you could use a 7/64 drill bit) . It worked easily and was actually much less exciting than either of us were expecting. The barrels will actually swell quite quickly, which caused us to drill a few times till the beer poured out nicely.


Hopefully that provided a semi detailed look into filling barrels on the nanobrewery level. Future posts will focus more on new lessons learned and more details on each batch. If you have questions please feel to ask in the comments or let me know if you want to check it out in person.

My little one having fun with the sign at Council Brewing

Friday, April 18, 2014

Introducing Council Brewing's Barrel Program

It's finally time to share some information about Council Brewing. I've been waiting to release information as I wanted to ensure everything was going to happen (unlike a previous attempt with another brewery). It is now official. I can say this because there is an article in a real publication (San Diego Reader) and it even has my picture and name in it.


I have known Liz and Curtis Chism for a couple years through our homebrew club, QUAFF. They were always interested in sampling my sour beers and it was good to get feedback from them since they both have great palettes. When they heard I was no longer going to help with Urban Jungle Brewing, they asked if I was interested in doing a similar program at Council Brewing. This was an easy decision, but I didn't want to get too excited until the opportunity was more "real".

Well, it's "real". Council Brewing is fully licensed (we could sell beer now!) and permitted. Liz and Curtis are  finishing construction and assembling the 3 BBL system from Stout Tanks. The plan is to ferment in plastic conicals on bases with wheels that can be moved in and out of the partitioned cold room. We actually received the old fermenters from Mike Hess of Hess Brewing and will be adding a few more to have a nice variety of beer on tap. The Chism's have been brewing for quite a while and have done well to understand a lot of different styles. The flagship beer or even "core beers" will be determined by the customers. The goal for the barrel program is to always keep at least one sour or Brett beer on tap. I'm not sure of the demand we'll have for it, but we should find out quickly. 

Here are some of the highlights of the sour and barrel program:

Sour Table Saison Solera - This will be my work horse beer and the one project I'm the most excited about. I have currently been experimenting with 3 different blends:

  • ECY 029 - Sam at Eureka Brewing sent me this blend and it is isolated from Alvinne. So far it has a very nice clean citrus character with a nice mild tartness after about a week. It is not attenuating well so a Sach or Brett strain will probably be needed.
  • Cascade Blend - Bryan at Slow Beer and Wild Yeast sent me this blend. Currently, this is my least favorite of the strains. It is pretty mild with only a slight tartness.
  • Master Blend - Robert Masterson, this is a blend of dregs from Hill Farmstead and Sante Adairius Saison Bernice and some additional White Labs Dupont strain. This blend is very nice, it has just enough Saison character and develops some acidity quite quickly.
The idea behind the solera is that I can keep the lactic acid bacteria culture happy by feeding it often. The wort will come from brewing extra Saison wort and running it off as soon as it comes to a boil, then diluting it down to ~1.036. (We are even toying with the idea of using second runnings from some of our big beers). I'm not sure of the frequency of pulls and the volume yet as that will be determined by my results. This base beer will be served as is and with different flavorings (seasonal fruit, dry hopped, Brett finished). I'm obviously very excited about this project and it will be neat to see how it progresses.

Draft Faro (or pFaro or pharo): This will be the Sour Table Saison with Belgian candi sugar and served on cask. 

White Wine Barrel Fermented Saison: We will be brewing this next week and it will be strongly based on the success of the Chardonnay Barrel Saison. We sourced the barrels from a local winery and should be ready be late summer.

Red Wine Barrel Fermented Flanders Red - More barrels from a local winery with my most recent Flanders Red recipe and using my 4th generation Roeselare strain. It should be ready by Council Brewing's First Anniversary.

A few other styles I want to work into the pipeline:
Biere de Mars - Here's a good write-up on the style
Cognac Barrel Aged 100% Brett Belgian Quad
Barrel Aged Oud Bruin with sour cherries

To keep up to date on the progress - check out the Facebook Page or Instagram

Friday, February 28, 2014

The Great EBY Brett Experiment: Round 1 Tasting Notes

A group of 12 of us met on December 19th in the back room of KnB Wine Cellars to taste the first round of bottles for the Great Brettanomyces Experiment. We had a very ambitious goal of trying all 20 strains in one sitting. It wasn't the optimal way of doing the tasting, but really the only practical way when trying to get 12 tasters together at one time (the free beer helped). Our palettes were definitely fatigued by the end and I think the ideal situation would be 2 sessions on back to back days if you want to taste all 20 strains. We had a nice mix of craft beer enthusiasts, BJCP judges, and sour/wild beer homebrewers. Well enough about the tasting lets get to the results.


Results:
These tasting notes and rankings were summarized from all the tasting participants.


Conclusions:
I think this experiment was a success (and we will continue to see how it goes). The base recipe really let the yeast strains shine (or not) while still providing enough substance to make the drinking experience enjoyable. I plan to use these results not as a these are good strains and these are useless, but as guidance to what beer styles or situations they may work well in.

Next Steps:
I'm going to follow-up in a couple different ways:
1. All the strains are going to get a second chance as a bottle conditioning yeast in a recently brewed Beire de Garde.
2. I'm going to create some custom recipes based on the flavor profiles of my favorite strains. I'll probably end up blending most of the strains together based on their flavor profiles.
3. I will also be compiling the results others are logging on the Google Form to compare and get a better idea of each of the strains

As always let me know if you have feedback or questions. We will be holding another tasting in a couple months, so let me know if you are interested.

Related Posts Plugin for WordPress, Blogger...